A smoke detector that doesn’t work is worse than no detector at all, because it gives you a false sense of safety.
I’ve spent my career working on industrial gas, flame, and safety systems, and the single most common failure I see isn’t hardware failure. It’s neglect. The device is on the ceiling, the green light is on, and everyone assumes it’s doing its job. Often it isn’t.
The good news is that keeping smoke detectors in working order takes a few minutes a month and almost no money. Here’s exactly how to do it the right way.
Why Testing Matters More Than You Think
Roughly three out of five home fire deaths happen in homes with no smoke alarms or no working smoke alarms.
In a real fire, you may have less than two minutes to get out before smoke makes escape impossible. The alarm is what buys you those minutes.
The problem is that detectors degrade silently. Sensors drift, dust accumulates, batteries weaken, and the unit itself ages past its rated lifespan. None of this is visible from the floor. The only way to know your detector will sound when it matters is to test it on a schedule and maintain it properly.
How to Test a Smoke Detector (The Right Way)
The monthly test button check
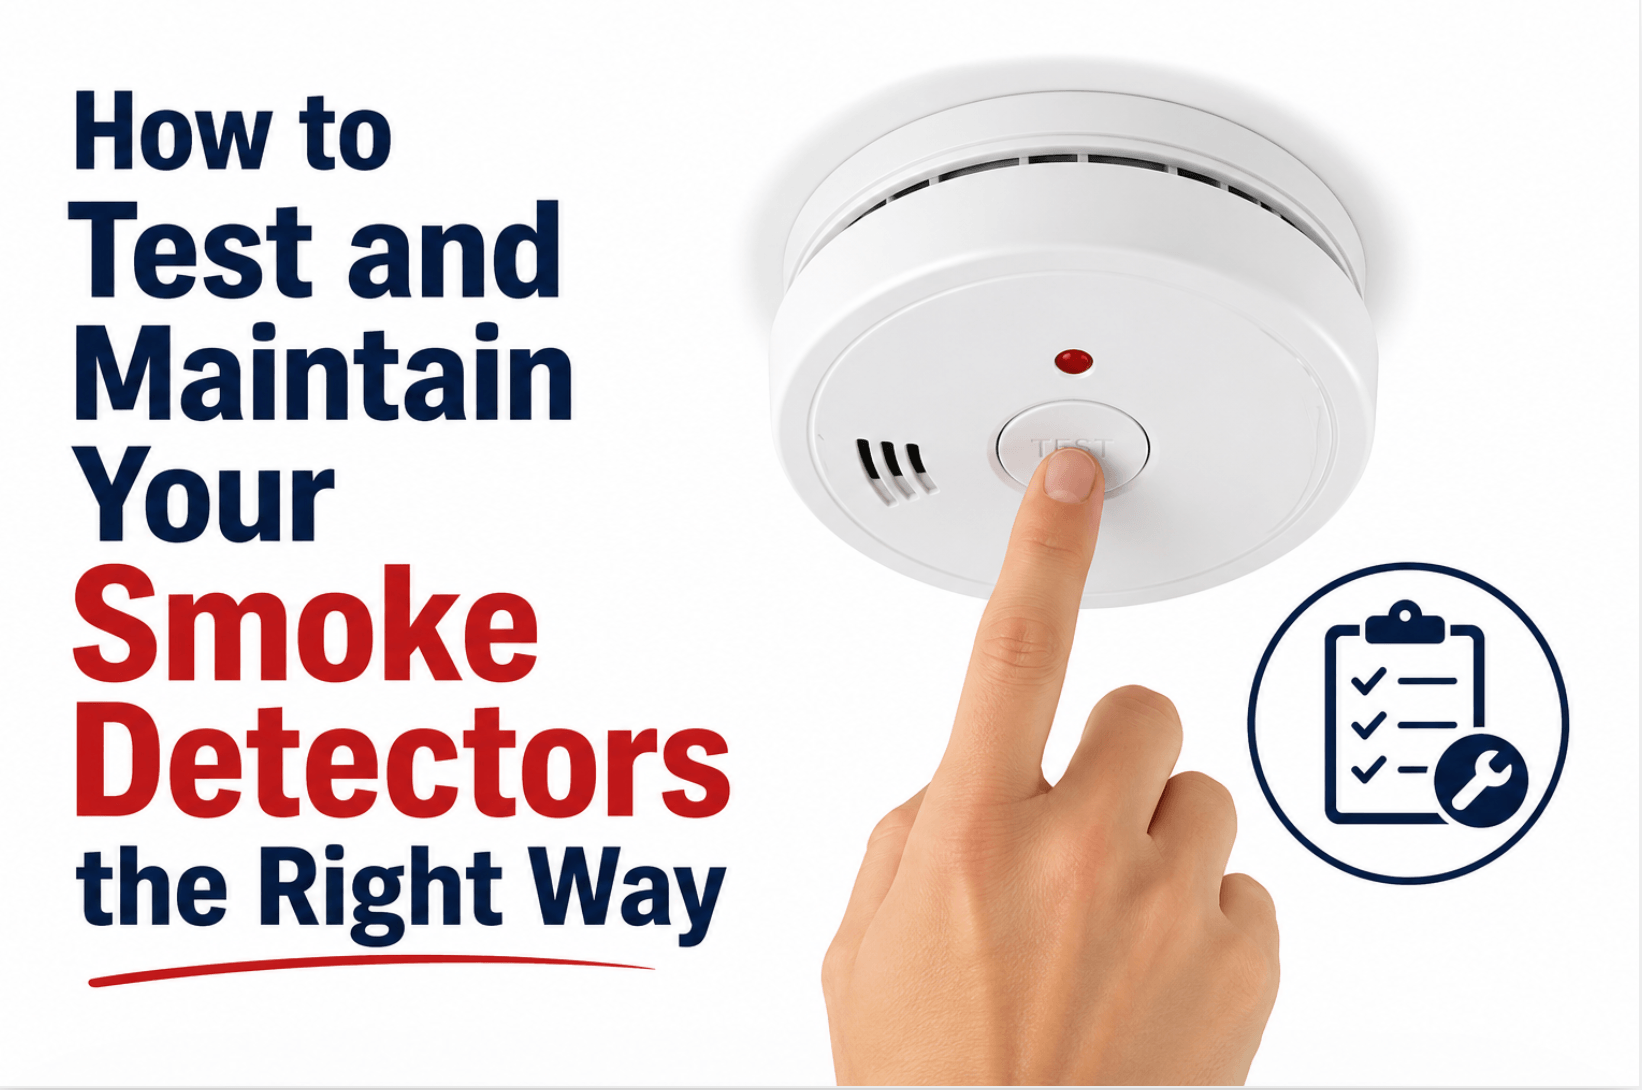
Every smoke detector has a test button. Pressing it checks the electronics, the battery, and the horn, confirming that the alarm circuit can sound.
- Tell anyone in the house you’re about to test, so the noise doesn’t alarm them.
- Press and hold the test button for a few seconds.
- Listen for a loud, sustained alarm. A weak, faint, or delayed sound is a failure.
- Release the button. The alarm should stop within seconds.
Do this once a month for every detector in the home. If you have interconnected alarms, pressing one button should trigger all of them within seconds. If only the unit you pressed sounds, your interconnection has a fault worth investigating.
Important
The test button confirms the alarm works, but it does not confirm the smoke sensor is responding to actual smoke. That’s a distinction most people miss.
Testing the smoke sensor itself
To verify that the sensing chamber actually detects smoke, use a can of smoke-detector test aerosol (sold at hardware stores).
Spray a short burst toward the detector from the distance listed on the can. The alarm should sound within seconds, then clear once the air settles.
Do this once or twice a year. Avoid using real smoke, candles, or matches. These leave residue inside the chamber, can damage the sensor, and don’t deliver a controlled, repeatable test.
Battery Maintenance
Replaceable-battery units
If your detector uses a removable 9V or AA battery, replace it at least once a year, or immediately when you hear the low-battery chirp.
A reliable habit is to swap batteries when the clocks change in spring or fall, since it’s an easy date to remember.
That intermittent chirp, usually one short beep every 30 to 60 seconds, means the battery is nearly dead.
Don’t ignore it or pull the battery to silence it. A disabled detector is the leading reason alarms fail during fires.
Sealed 10-year units
Many newer alarms have a sealed lithium battery rated for the life of the unit, around ten years. You never change the battery on these.
When the battery dies, the whole unit is replaced. These are an excellent choice precisely because they remove the “forgot to replace the battery” failure mode.
Cleaning Your Smoke Detectors
Dust, cobwebs, and insects are the quiet enemies of smoke detectors. Debris inside the chamber can cause two opposite problems: nuisance false alarms or a sensor too clogged to respond.
Clean each detector every few months
- Gently vacuum the exterior vents with a soft brush attachment, or
- Blow out the chamber with a short burst of compressed air.
- Wipe the cover with a dry or barely damp cloth. Never use cleaning sprays, solvents, or water near the unit.
Cleaning takes under a minute per detector and dramatically reduces false alarms, which are the reason people disable detectors in the first place.
When to Replace a Smoke Detector Entirely
This is the step almost everyone forgets: smoke detectors expire.
The sensing technology degrades over time, and manufacturers rate most units for ten years. After that, the detector may still light up and pass a button test while being unable to reliably detect smoke.
To check the age, take the unit off its mount and look on the back for the manufacture date. If it’s more than ten years old, or you can’t find a date at all, replace it. When in doubt, replace it.
A few replacement rules worth knowing
- Replace the entire unit at ten years regardless of how it looks or tests.
- Replace any detector that has been exposed to fire, heavy smoke, or water damage.
- Replace any detector that gives inconsistent test results.
Ionization vs. Photoelectric: Use Both
There are two main sensing technologies. Ionization detectors respond faster to fast-flaming fires; photoelectric detectors respond faster to slow, smoldering fires.
Because you can’t predict which kind of fire you’ll face, the safest approach is to have both types covered, either through dual-sensor alarms or a mix of the two throughout the home.
How to choose the right smoke detector
Where Detectors Should Be Installed
Maintenance only helps if detectors are in the right places to begin with. At minimum:
- Inside every bedroom.
- Outside each sleeping area.
- On every level of the home, including the basement.
Keep them on the ceiling or high on the wall, away from corners, vents, and the immediate vicinity of kitchens and bathrooms where steam and cooking cause false alarms.
A Simple Maintenance Schedule
| Task | How Often |
|---|---|
| Press the test button | Monthly |
| Test with smoke aerosol | 1–2 times per year |
| Replace removable battery | Yearly (or at first chirp) |
| Clean the unit | Every 3 months |
| Check manufacture date | Yearly |
| Replace the whole unit | Every 10 years |
Final Thoughts
Smoke detector maintenance isn’t complicated, but it does require consistency. A monthly button press, a yearly battery change, a quarterly cleaning, and a calendar reminder to replace units at the ten-year mark are all it takes to keep the one device in your home that’s standing guard while you sleep.
Set a recurring reminder on your phone today. The minute you spend now is the kind of preparation that, on the worst night of your life, gives you the time to get everyone out.